
Last updated November 14, 2026
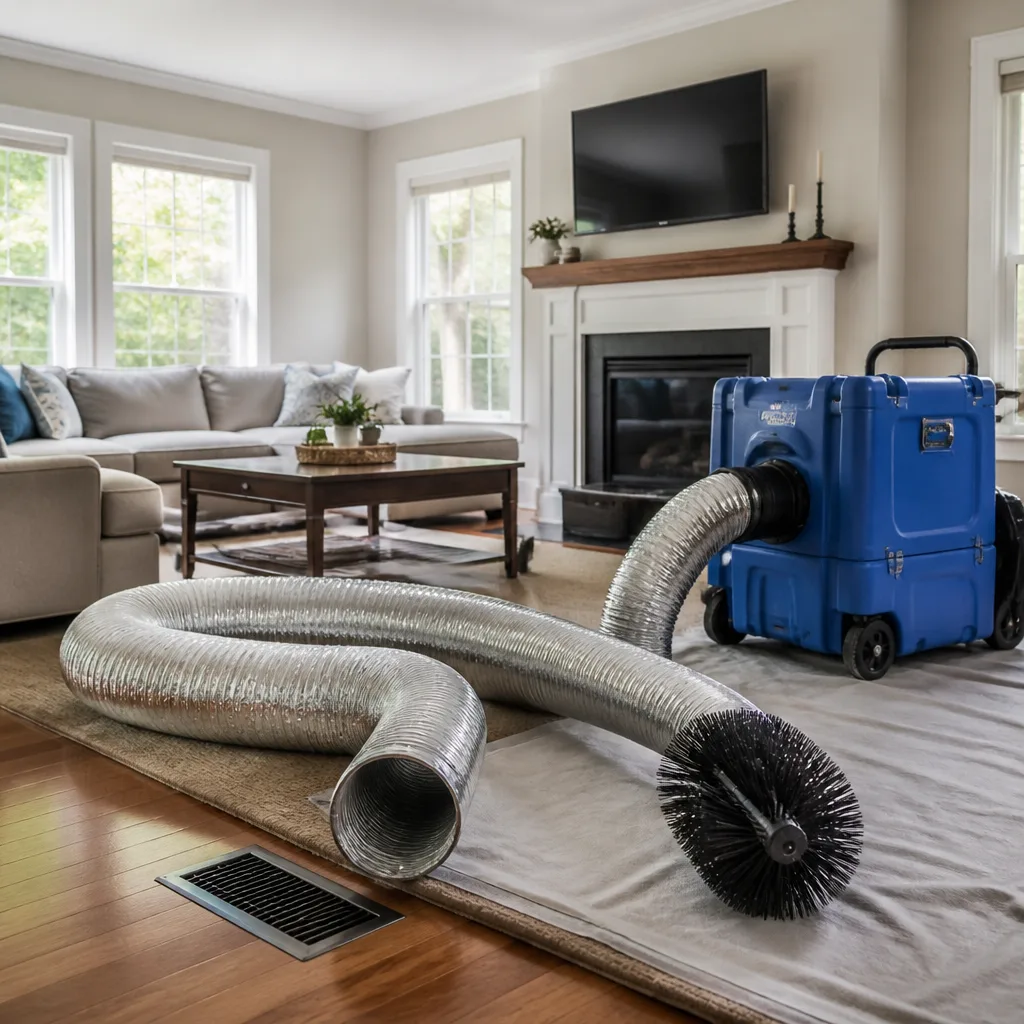 Whole-home duct cleaning
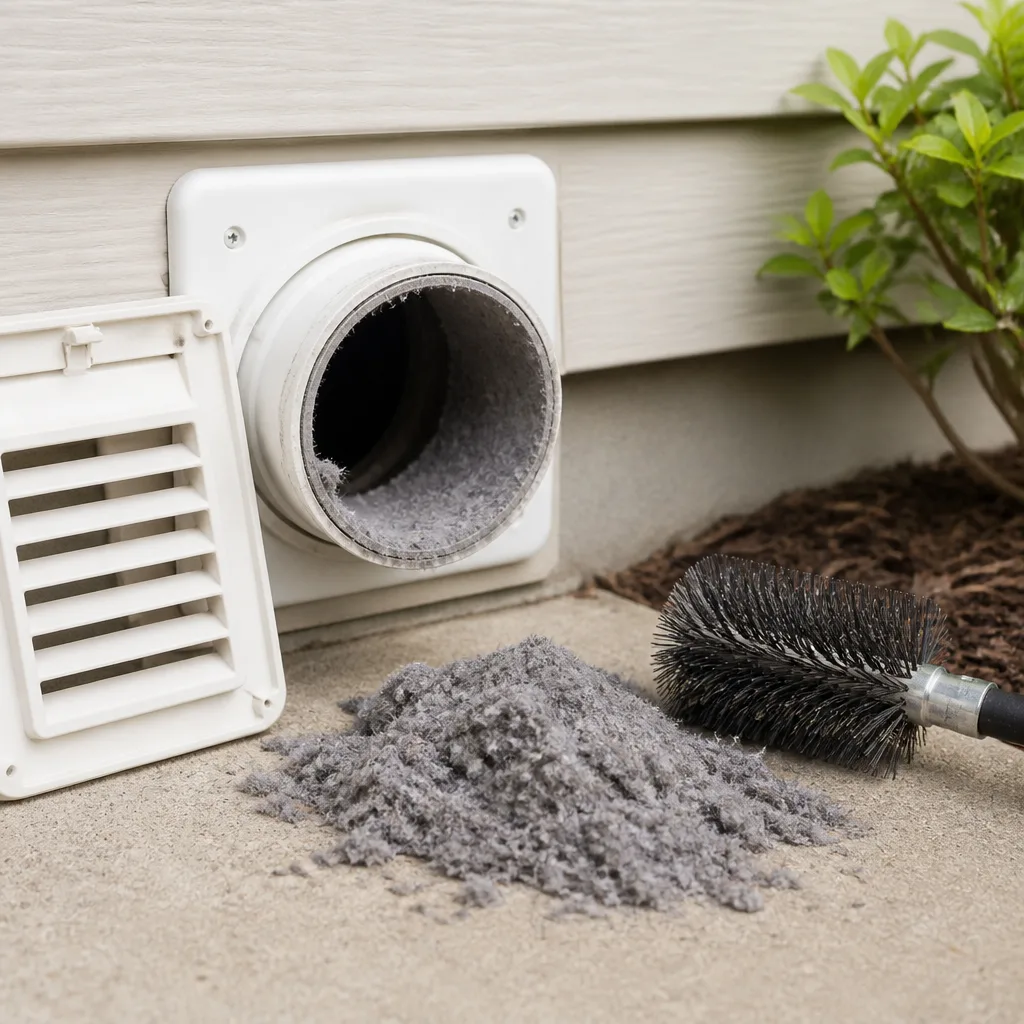 Dryer vent cleaning
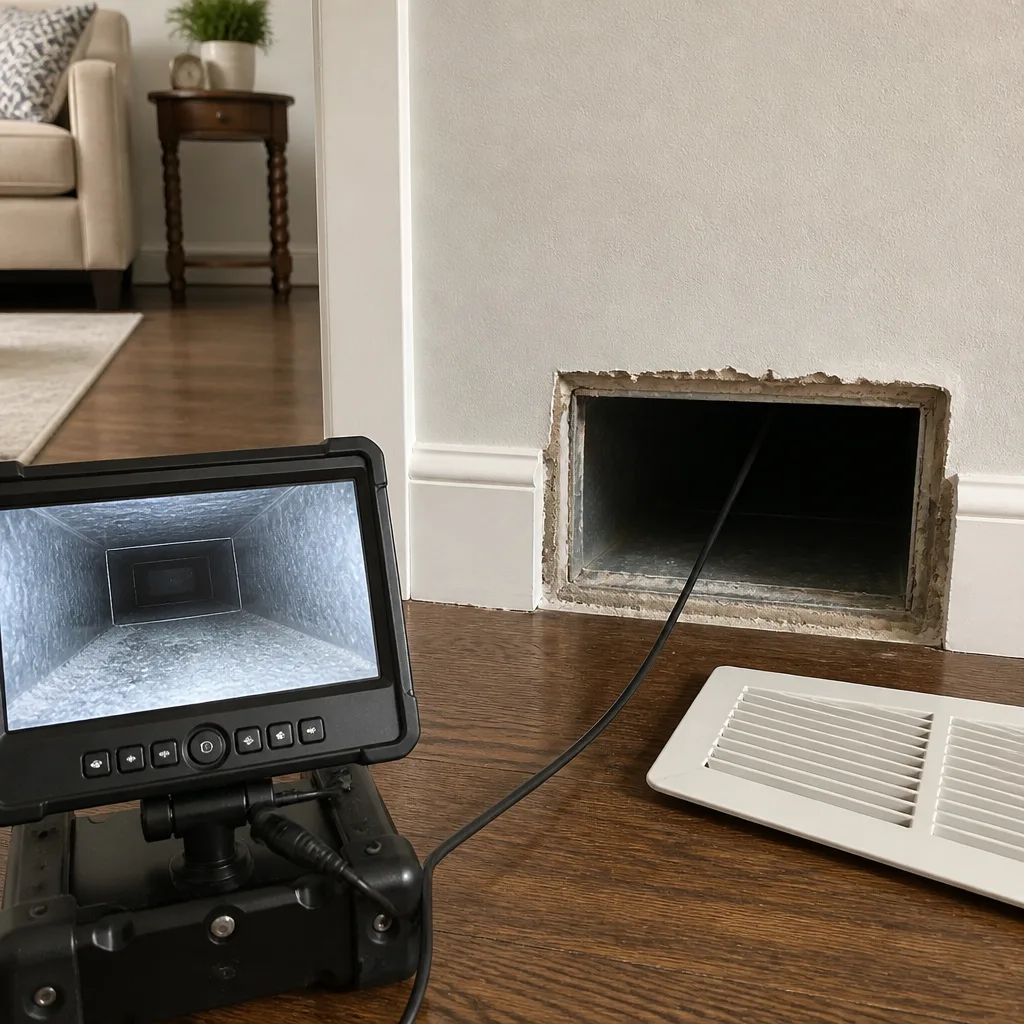 Camera inspection
 Sanitizing & deodorizing
Whole-system duct and dryer vent check with before-and-after photos - you see exactly what came out of your vents
That "$99 whole-house special" is a bait ad - the real number appears once they are in your hallway, or the "clean" is a shop-vac at the register. We photograph the inside of your ducts before and after instead.
Air Duct Cleaning Maintenance Checklist for Columbia Homeowners
Changing your filter on a schedule feels productive. But if the return plenum behind it has a layer of debris coating the metal, that fresh filter is fighting a losing battle from day one. Duct contamination isn’t only about what builds up on the walls of the ducts. It’s driven by three inputs: the filter, the HVAC unit itself, and the humidity in the air around the system. Columbia’s humid summers and pollen-heavy springs put real pressure on all three, and the timing of each maintenance task matters as much as the task. This guide gives you a checklist built around those system inputs, organized by how often you should do each one: monthly, quarterly, and annually.
Quick Answer
A practical air duct maintenance checklist for Columbia homes covers three rhythms: monthly filter and airflow checks, quarterly coil and register inspections, and annual professional cleaning tied to the seasonal triggers that matter here, pollen peaks in spring, humidity spikes in summer, and heating startup in fall. Most Columbia homes do well with a professional cleaning every one to three years, sooner if you’ve renovated, have pets, or notice uneven airflow.
Styles & brands we work with
- Whole-home duct cleaning
- Dryer vent cleaning
- Camera inspection
- Sanitizing & deodorizing
Table of Contents
- Monthly: Filter, Return Plenum, and Airflow Checks
- Quarterly: Coils, Drain Pan, and Register Inspections
- Annual: Professional Cleaning and System Timing
- Which MERV Rating Fits Your System?
- The Tissue Test: An Airflow Balance Check
- Post-Renovation Checklist
- Columbia’s Seasonal Triggers
- Common Mistakes to Avoid
Monthly: Filter, Return Plenum, and Airflow Checks
The monthly layer of the checklist is the one you control directly. It takes fifteen minutes and it’s where most duct problems either get caught early or quietly build. Here’s what to do each month:
- Swap or inspect the filter. Hold it up to a light. If you can’t see light through it evenly, it’s done. In Columbia’s spring pollen season, a one-month filter can look clogged in three weeks.
- Look inside the return plenum. Remove the filter and shine a light into the return box behind it. A dusting is normal. Visible debris accumulation, drywall grit, or a pile of dust at the bottom is not, and it tells you the filter has been bypassing or the system has a deeper load.
- Check the filter fit. A filter that’s a quarter-inch too small lets air slip around its edges. Gaps at the frame are a common reason return plenums get dirty while filters look clean.
- Listen at the registers. Put your hand near each supply vent. You should feel steady, comparable flow. A register that’s noticeably weak or blowing warm air when the system is cooling is a signal to check further.
- Wipe the register face. Dust settling on the outside of the grille is a quick read on how much is moving through the system. Streaking or a dark halo around a vent means particulate is escaping at that point.
Do this on the same date each month, ideally right before your utility billing cycle, so the habit sticks. If you have pets or someone in the home with allergies, add a second filter check mid-month. These monthly steps feed directly into the air duct cleaning work a professional does, and they tell you when that work is actually needed rather than when a calendar says so.
Quarterly: Coils, Drain Pan, and Register Inspections
The quarterly layer goes one step deeper, into the components that feed the duct system. This is where most contamination problems actually start. In our experience, a duct system loaded with debris often traces back to a coil that’s been struggling or a drain pan that’s been sitting wet.
- Inspect the evaporator coil. With the power off at the disconnect, open the access panel to the indoor coil if your unit allows it. Look for a matte, gray film on the coil fins, which is dust and biological growth, or a bright, wet sheen, which points to a drainage problem. Mold at the coil travels directly into the ductwork on the airstream.
- Check the drain pan and condensate line. Standing water in the pan means a clog or a slope problem. Stagnant water in a warm, humid Columbia summer is a growth environment, and the blower pushes that air into every room. Flush the condensate line if it’s accessible; clear standing water with a wet/dry vacuum.
- Inspect flex duct connections at the plenum. Sagging, kinked, or disconnected runs at the trunk are common in attics and crawlspaces after heat and humidity cycles. A disconnected run is dumping conditioned air into the attic and pulling attic air back in.
- Clean supply and return grilles. Remove the grilles and wash them in a sink or with a hose. Dirty grilles don’t just look bad; they restrict flow and can harbor growth.
- Photograph what you find. A dated photo of a dirty coil, a full drain pan, or a sagging duct is your record for the next service visit and a reference for whether things improved.
If a coil or drain pan inspection turns up something you can’t address, that’s a repair issue, not a cleaning issue. Our Columbia service area handles both, because cleaning around a failing component just leaves the root cause in place. We repair what others only clean around.
Annual: Professional Cleaning and System Timing
The annual layer is the professional visit. Not every home needs one every year, but the timing of when you schedule it matters as much as whether you do. Here’s a step-by-step way to plan it:
- Pick your trigger season. In Columbia, the two high-payoff windows are late spring (after pollen has peaked but before summer humidity settles in) and early fall (before heating startup, so the first run of heated air isn’t pushing a season of accumulation into the rooms).
- Schedule before the switch. Book a cleaning before your HVAC switches from cooling to heating or vice versa. Residual dust in the system gets pushed into living space on the first run.
- Ask what equipment will be used. A full-system clean uses purpose-built rotary-brush and vacuum machinery. We run Rotobrush and Nikro systems, and on jobs where airborne particulate control matters, Abatement Technologies filtration. If a company can’t tell you what equipment they’ll bring, that’s your answer.
- Confirm scope in writing. The estimate should name what’s being cleaned: supply runs, return runs, the main trunk, and the plenum. A clean that skips the trunk leaves the largest reservoir untouched.
- Ask for before-and-after photos. A documented clean shows you the inside of your own ducts, not a stock photo. We photograph the system before and after every job.
- Get the written estimate first. One flat price per system, agreed before work starts. No per-vent pricing, no surprise invoice once the equipment is out.
Property managers in Columbia’s townhome and condo communities often run a rotation: one building at a time, scheduled in the shoulder seasons. That keeps costs predictable and avoids stacking professional visits on top of peak HVAC load.
Which MERV Rating Fits Your System?
Higher MERV isn’t automatically better. A filter that’s too restrictive for your system drops airflow, which means weaker heating and cooling, higher energy use, and a coil that ices or sweats. The right grade is the one your system’s blower can push through without losing static pressure. This is a rough cross-reference for residential systems, and you should confirm against your HVAC manufacturer’s spec and your existing filter slot:
- MERV 6-8: A safe baseline for most residential systems with a standard one-inch slot. Captures larger dust and pollen. Doesn’t strain blowers.
- MERV 8-11: A reasonable step up for allergy-conscious households, especially if the system has a deeper filter cabinet (4-5 inches). Better particulate capture, still manageable airflow load.
- MERV 13 and above: High capture, real airflow penalty in many one-inch slots. Only makes sense if your system was designed for it or uses a deep cabinet, and only after checking static pressure. Too many homeowners install a MERV 13 cartridge in a one-inch slot and wonder why the far bedrooms went quiet.
Two rules that save you trouble. Match the filter to the slot depth, not to a marketing label. And if you’re stepping up a grade, check airflow at your farthest register before committing. When we clean a system, we note the filter size and type and can tell you whether the grade you’re running matches what your unit can handle. For homeowners who want to pair filter upgrades with whole-home air quality work, we work with the same IAQ brands your HVAC installer trusts: Honeywell, Aprilaire, and Guardsman-grade protection products.
The Tissue Test: An Airflow Balance Check
You don’t need a manometer to spot a partial blockage. A tissue and one minute per register tells you most of what a professional would look for. Here’s the process:
- Turn the system on to fan-only mode. You want steady airflow without heating or cooling cycling.
- Hold a single-ply tissue against each supply register. It should flatten against the grille and stay there. A tissue that flutters weakly or falls away indicates restricted flow at that run.
- Repeat at each return. Returns pull air in. A return that barely tugs the tissue is restricted or is being starved by a closed door to a room that needs a return path.
- Compare rooms. The farthest rooms should have flow nearly as strong as the closest ones. If a back bedroom feels noticeably weak, the run may have a partial blockage, a kinked flex run, or a closed balancing damper.
- Log the result. Write down which registers pass and which fail. Take this log to your annual professional visit. It tells the technician exactly which runs to inspect first.
This test catches problems between professional visits, and it’s a fair way to judge whether a company actually balanced your system or just blew air through the trunk. We use it as a starting point on every job in the Columbia market. If your tissue test shows a pattern of weak registers, that’s a strong signal to book a professional inspection.
Post-Renovation Checklist
Columbia’s active remodeling market is a duct-system event whether or not anyone plans for it. Drywall dust is the culprit. It’s finer than most household dust, it hangs in the air for hours, and it settles into return plenums, supply trunks, and coil fins. A single kitchen or bathroom remodel can load a duct system more than a year of normal use. If you’ve had work done, run this checklist before turning the system back on:
- Before demolition starts, seal the returns. Cover return grilles with plastic film and tape. This is the single most effective step, and it’s almost always skipped.
- Run the HVAC fan off during sanding and drywall work. A running fan pulls dust directly into the system.
- After the dust settles, change the filter. Change it once mid-project and again at the end, regardless of what the calendar says.
- Inspect the return plenum for grit. Drywall dust is visible as a fine white or gray film. If you find it, the filter was bypassing or the project outran the filter’s capacity.
- Book a professional cleaning when the project finishes. Schedule it before you resume normal use, and mention the renovation so the technician knows to inspect the plenum and coil, not just the runs.
- Check dryer vent too if the project touched the laundry area. Dryer vent cleaning is a separate system but often disrupted by remodeling, and it’s worth reviewing in the same visit.
Renovations also disturb duct connections, especially in older Columbia homes where flex runs were installed decades ago. A duct run that was marginal before the project can come loose during it. Ask for a repair inspection alongside the cleaning.
Columbia’s Seasonal Triggers
Timing the checklist around Columbia’s seasons is where it earns its keep. The climate here pushes a lot through the duct system across a calendar year, and the seasonal triggers are specific:
- Spring pollen peak. Pollen is fine enough to pass through most filters and coat the inside of ducts. Run your monthly filter checks more often and consider a mid-season professional cleaning if you have allergies.
- Summer humidity spike. High humidity means a wetter coil and a wetter drain pan. Summer is when coil and drain pan inspection earns its place in the quarterly rotation, and when growth issues show up fastest.
- Heating startup. The first run of heated air in fall pushes a season’s accumulation into the rooms. Schedule cleaning before the switch, not after.
- Winter static pressure. Closed windows and tighter house envelopes mean the system runs longer without fresh air exchange. Filter changes need to keep pace.
The pattern is that every seasonal transition is a good time to check the system, not just to run it. If you’re maintaining your heating and cooling equipment on a schedule, put the duct system on the same calendar. Three service lines matter here and all three run on their own rhythms: air duct cleaning, dryer vent cleaning, and duct repair.
Common Mistakes to Avoid
- Upgrading the filter without checking airflow. A MERV 13 in a one-inch slot starves the system of air. If your far rooms go quiet after a filter change, the grade is too high for the slot.
- Skipping the return plenum. Homeowners check the filter and never look at what’s behind it. The plenum is where bypass dust actually accumulates.
- Assuming a cheap quote means a full-system clean. Many low-cost services clean the visible runs and skip the trunk and plenum. The trunk is the largest reservoir in the system.
- Running the HVAC fan during renovation. This pulls drywall dust throughout the system. Turn it off, seal the returns, and change the filter after.
- Ignoring the drain pan. Standing water in Columbia’s humid summers is a growth environment. Mold at the coil goes directly into the ductwork on the airstream.
- Cleaning without inspecting for repair. A disconnected flex run or a sagging trunk won’t be fixed by cleaning. Ask for a duct repair check alongside the clean.
- Treating the checklist as a calendar chore. Columbia’s seasons change the timing. Check more often in spring pollen and summer humidity, and clean before heating startup in fall.
See the difference
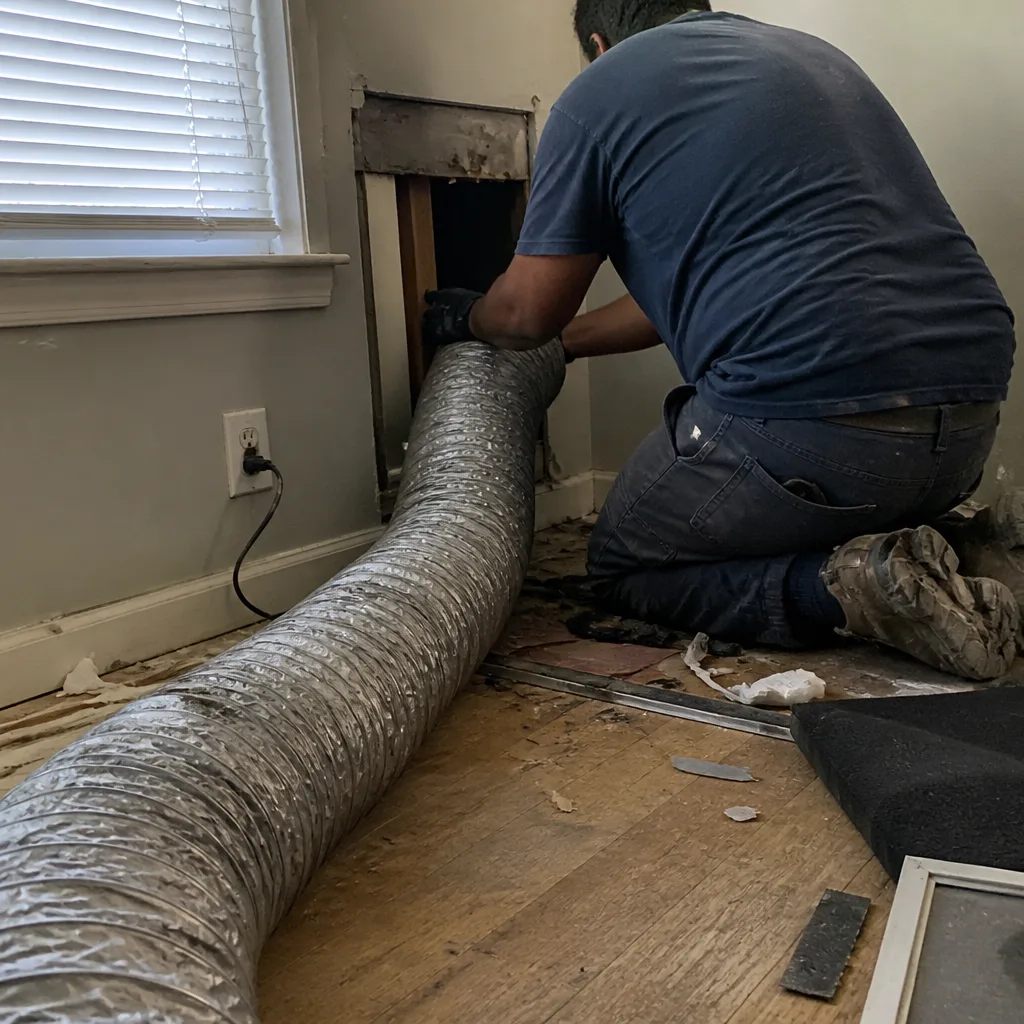 Before
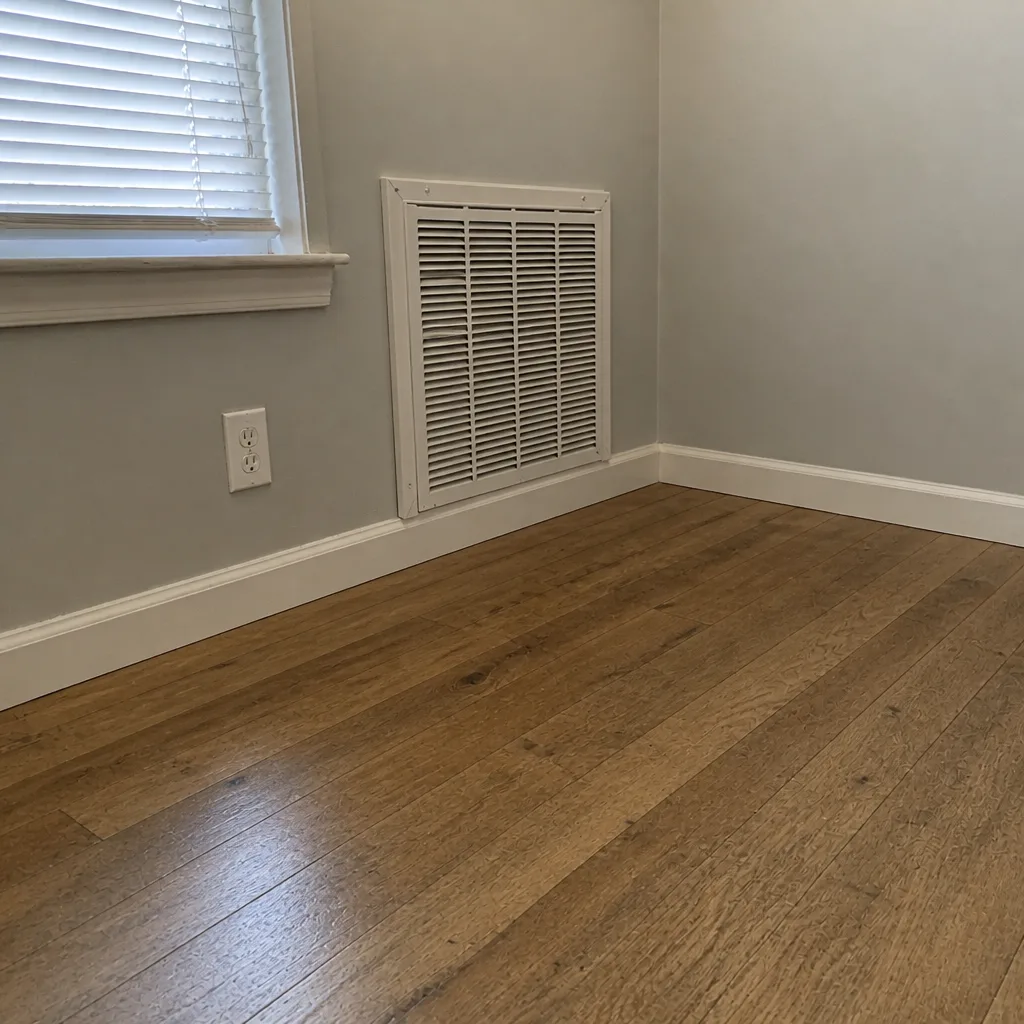 After
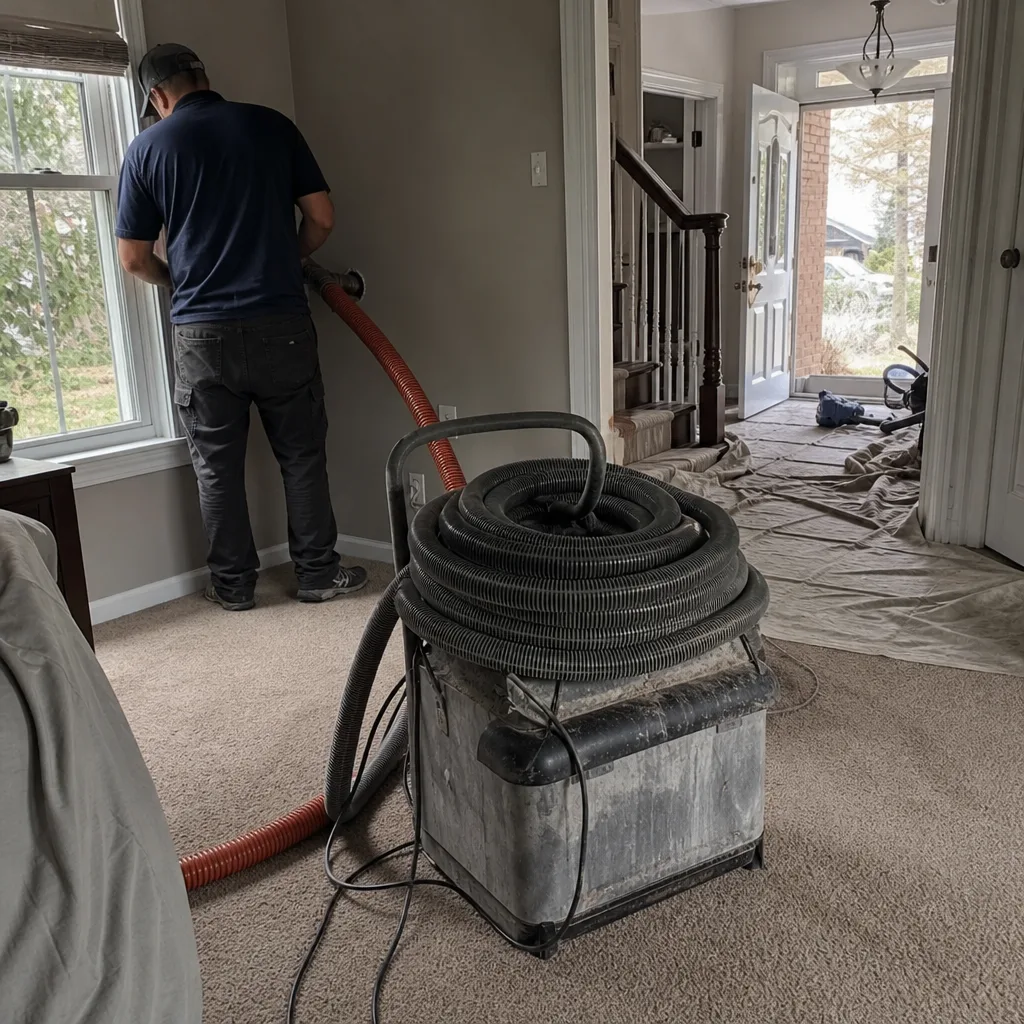 Before
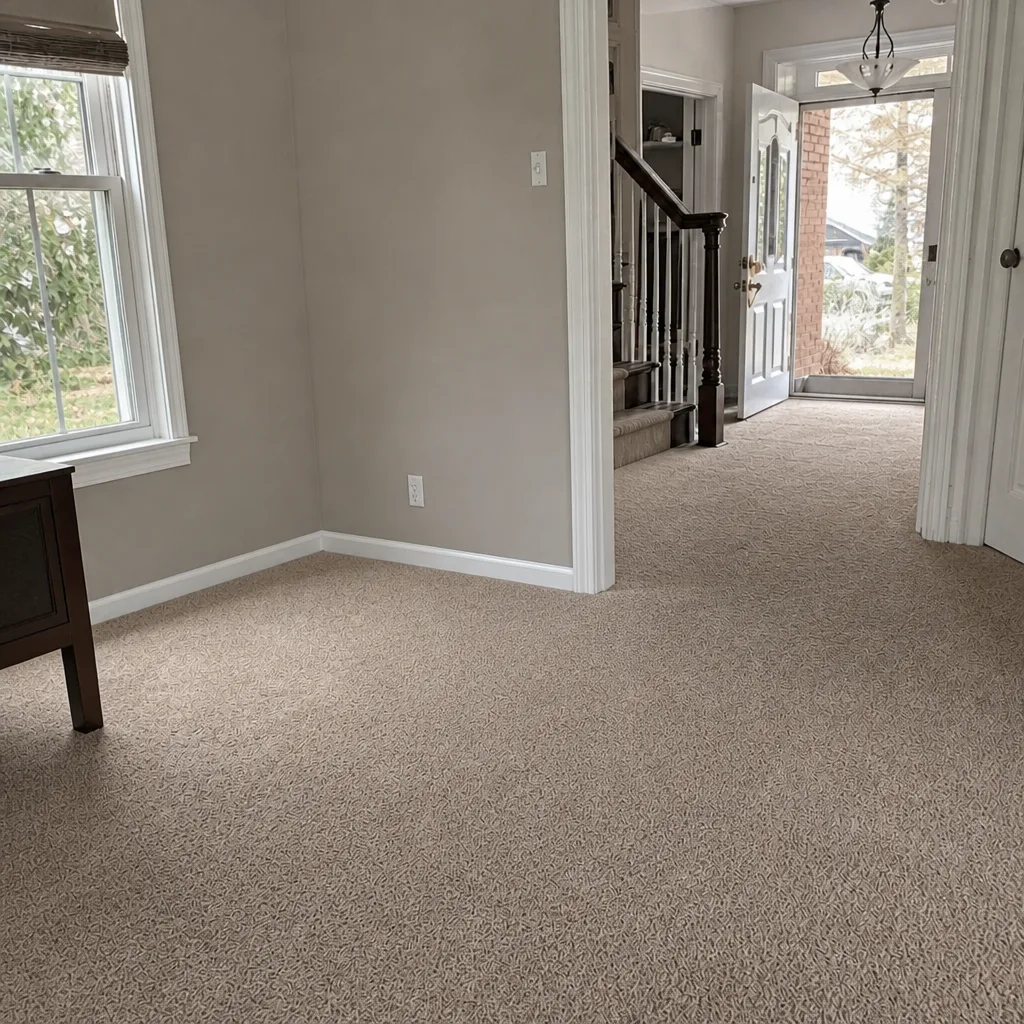 After
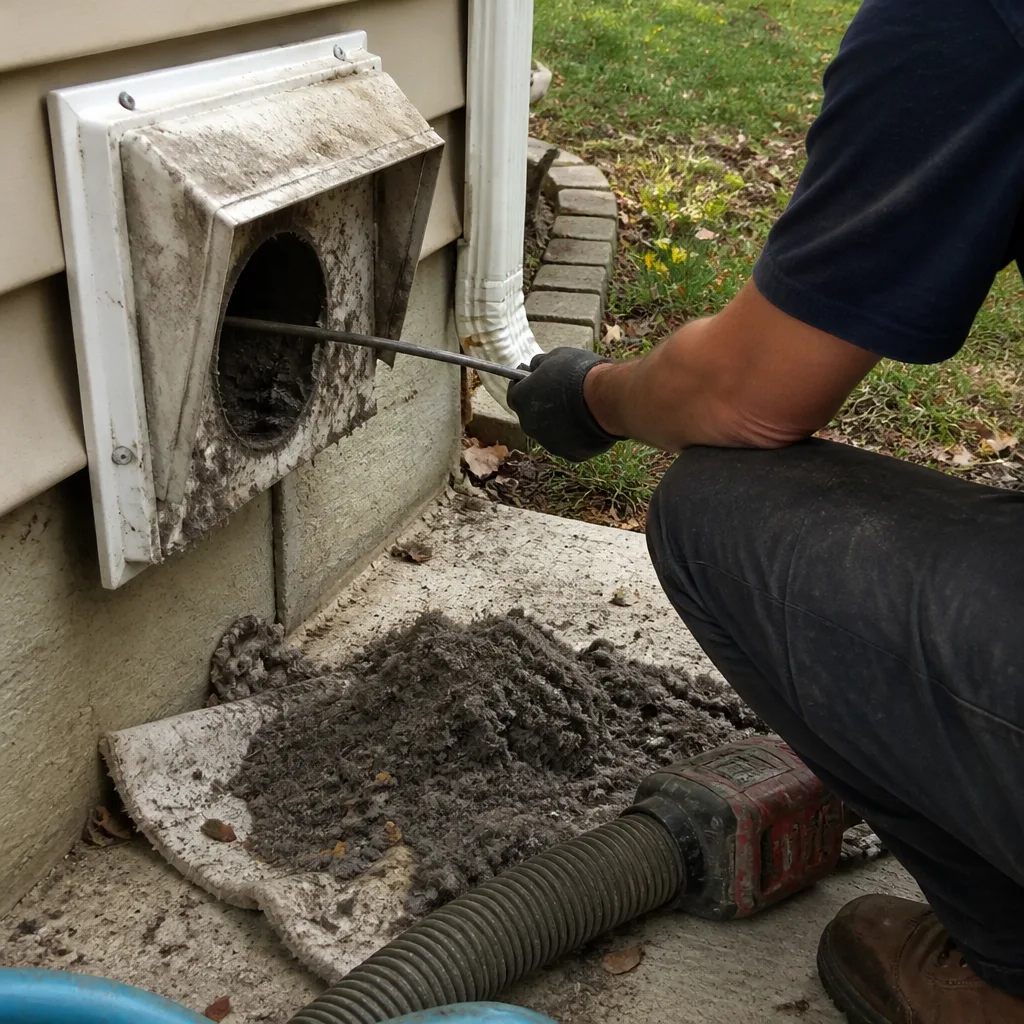 Before
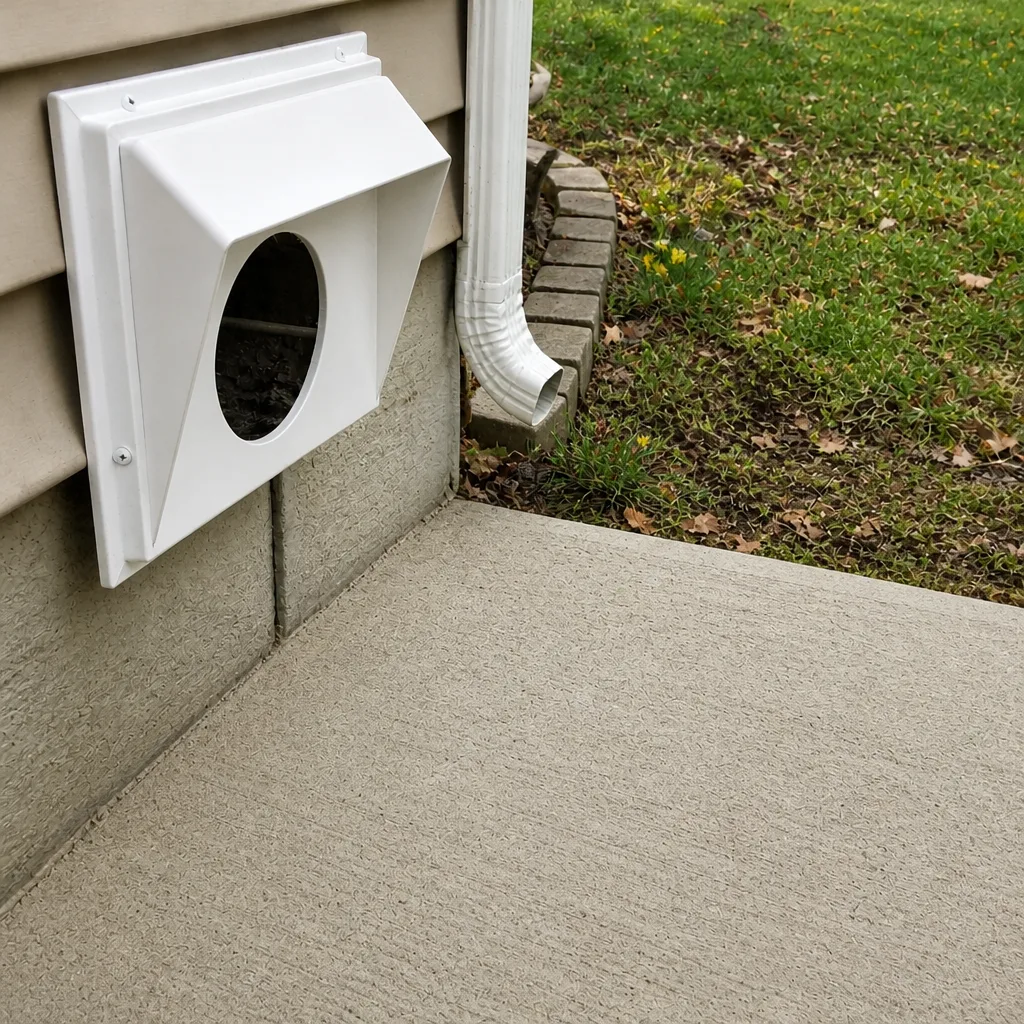 After
When to Call a Professional
Most checklist items are for you. But specific signals tell you the work has moved beyond the monthly routine. Call a professional when you see visible debris accumulation in the return plenum that keeps coming back after filter changes, when the tissue test shows a persistent weak register even after checking dampers, when a coil inspection turns up matte gray film or a wet pan that keeps filling, when a renovation generates drywall dust that outran the filter, or when a duct run has come loose, kinked, or sagged. If your dryer is taking longer than usual to dry a load, that’s the dryer vent side and it needs professional cleaning too. Each of these is a specific, diagnosable problem, not a case for a routine vacuum pass. Stallion Air Duct Cleaning offers free estimates in Columbia: call (866) 643-6070. We answer 24/7. Fast dispatch from 7am to 7pm, Sunday through Friday.
Frequently Asked Questions
Most Columbia homes do well with professional cleaning every one to three years. The Columbia climate pushes the number toward every one to two years if you have pets, allergies, or have recently renovated. Homes with newer filters and clean coil and drain pan histories can often stretch to three. Use your monthly and quarterly checklist results to tell you when the system is actually loading, rather than the calendar alone. Call (866) 643-6070 for an exact quote; estimates are free.
Low quotes usually reflect a smaller scope: a quick pass on visible runs with hardware-store equipment, skipping the trunk and return plenum, or pricing per vent so the total creeps up on-site. A full-system clean uses purpose-built rotary-brush and vacuum machinery (we run Rotobrush and Nikro) and includes the trunk and plenum. Ask what’s in writing before the work starts. Call (866) 643-6070 for a written, whole-system estimate.
Ask for before-and-after photos of your own ducts, not stock photos. A documented clean shows the inside of the runs, the trunk, and the plenum before and after. Combine that with a written scope that names what’s included, and a checklist that logs the airflow at each register. If a company can’t show you the photos, that’s the answer. Call (866) 643-6070 to book a documented clean.
MERV 8 is a safe baseline for most residential systems with a one-inch slot; MERV 8-11 fits well if you have a deeper filter cabinet. Higher grades (13+) require a system that can handle the static pressure drop. In Columbia’s humid summers, a wet coil combined with a restrictive filter is a recipe for reduced airflow and growt
You can vacuum a return plenum or wipe visible grime, but a full-system clean with a shop vacuum isn’t practical or safe. It doesn’t reach the trunk, doesn’t agitate the dust bonded to duct walls, and can push particulate into the airstream. Professional machinery is built to agitate, contain, and extract. Call (866) 643-6070 for an exact whole-system quote; estimates are free.
Treat them as separate systems with their own triggers. Dryer vents need cleaning when a load takes noticeably longer to dry, or roughly once a year in normal use. They’re worth checking during a renovation if the laundry area is affected. A clogged dryer vent is a real fire risk, not just a performance issue. Call (866) 643-6070 to schedule both on the same visit if the timing lines up.
The Bottom Line
The checklist that keeps your duct system clean isn’t a single annual appointment. It’s three layers working together: monthly filter and airflow checks, quarterly coil and drain pan inspections, and annual professional cleaning timed to Columbia’s pollen peak in spring, humidity spike in summer, and heating startup in fall. The tissue test and the MERV cross-reference are the two tools homeowners most often skip, and they’re the two that flag problems earliest. Post-renovation cleaning handles the drywall dust load that a scheduled filter change can’t. When you see debris accumulating in the return plenum, weak registers that persist after damper checks, or a coil turning matte gray, that’s the moment to call a professional for a documented, whole-system clean. One flat price per system, agreed before work starts.
If your checklist turns up something you want a second look at, call Stallion Air Duct Cleaning at (866) 643-6070 for a free estimate. We answer 24/7. Fast dispatch from 7am to 7pm, Sunday through Friday. Your entire ventilation system, ducts, vents, and connections, handled start to finish.
Written by the team at Stallion Air Duct Cleaning.